Wednesday, April 23, 2008

Krampf Experiment and Homeade IceCream

I think we are going to start rating these days as to what my kids find the most fun. I will go back and edit the other posts at some point. This one gets 5 stars

PhotobucketPhotobucketPhotobucketPhotobucketPhotobucket

We started with this Krampf Experiment.
http://www.krampf.com/experiments/Science_Experiment56.html

We are a member of his group on yahoo groups and get an experiment per week.
http://www.krampf.com/news.html

Here is the directions and ingredients.

Robert Krampf's Experiment of the Week
Ice and String

Imagine that you are given a full glass of water with a couple of ice cubes
floating in it. You are given a string and told to pick up the ice cube with
the string, without touching the glass, or the ice, or the water with your
fingers. Could you do it? Of course you could, if you knew a little science
and had a little salt.

For this experiment, you will need:
a glass of water
a couple of ice cubes
2 feet of thread
salt

To pick up the ice cube, lay the end of the thread across the ice cube. You
may want to loop the thread a couple of times, to give it plenty of surface
area to stick to. Then sprinkle about 1/2 teaspoon of salt on top of the
thread and wait about a minute. Then lift up on the string. You will find
that the string has frozen to the ice.

What happened? Pure water freezes at 32 degrees F. Adding salt to water
lowers its freezing point, allowing it to remain a liquid when it is colder
than 32 degrees. The surface of the ice cube, where the ice is beginning to
melt, is just below 32 degrees, so the addition of salt causes it to become a
liquid again. To make the change from a solid to a liquid, the ice must absorb
heat from its surroundings. That chills the water around it to the point
where it will freeze, freezing the string to the piece of ice.

The same process is used in making homemade ice cream. The ice cream mix is
placed in a container which is surrounded by ice and salt. This lowers the
temperature of the water enough to freeze the ice cream. You can quickly
make some homemade ice cream by placing 1/2 cup of milk, 2 tablespoons of sugar,
and a 1/2 teaspoon of vanilla extract into a zipper sealed sandwich bag.
Seal the bag tightly and then place it into a larger plastic zipper sealed bag,
along with 3 cups of ice and about 1/2 cup of salt. Seal the larger bag and
start shaking and squishing it to make the ice cream freeze evenly. After
about 3-4 minutes, the ice cream should become about as firm as homemade ice
cream gets. Open the large bag and remove and rinse the smaller bag, so that no
salt gets into your ice cream. Now grab a spoon and enjoy!

Have a wonder-filled week.

To join the list on Yahoo Groups, send a blank e-mail to:
krampf-subscribe@yahoogroups.com
To join the list on Topica, send a blank e-mail to:
krampf-subscribe@topica.com


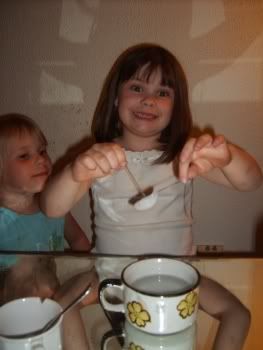
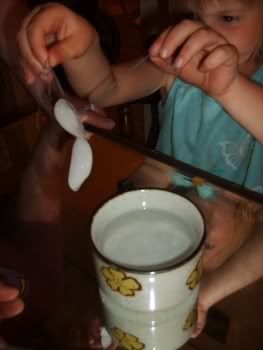
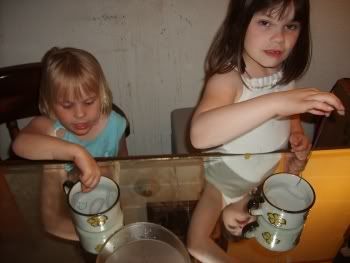
And our pictures from this experiment, which the girls *loved*!

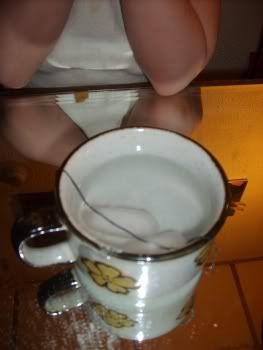
Here they are trying to pick up the ice with the string before the salt.
Photobucket

Salt...
Photobucket

And finally...
Photobucket

Photobucket

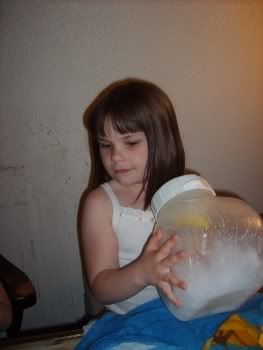
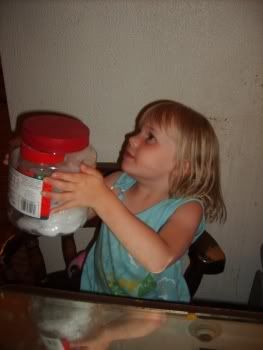
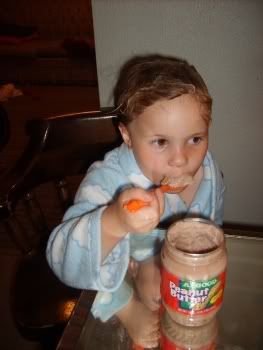
Then of course, the ice cream making. We didn't have big plastic baggies so we found some old peanut butter jars and some jars bigger than the PB ones and used those to shake it up and it worked really well too.
Photobucket

Photobucket

And Finally, the *sweet* rewards (which they loved, ate a few bites, and put away for later)
Photobucket

Photobucket

Sunday, April 20, 2008

Free Movies

Today, we went to see Mr. Magorium's Wonder Emporium for free. It was especially exciting for the girls because we got to go with my parents whom they haven't seen in 5 weeks.

Every spring and fall our local theater has 8-10 movies that they show for free on Saturday and Sunday mornings, one per week.

http://www.gqti.com/freematinee.aspx

I would do a goodsearch (we do goodsearch because it raises money for our favorite charity, Miracle Diapers) for your town and free matinees to see if you can find any in your area.

Saturday, April 19, 2008

Sidewalk Chalk

This was actually from yesterday (no, I haven't been keeping up with this daily, but I *have* been trying to make little sparkles in my kids lives on a daily basis) .

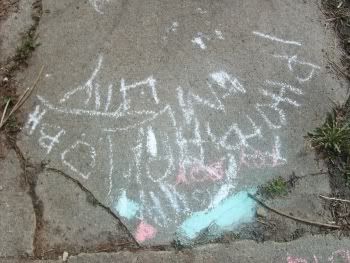
Lil and I spent some time out in the front yard on the sidewalks with sidewalk chalk. We drew pictures and even spelled a few words. I wrote "Lilly", "Marti", "Daddy" and "Mommy" because those are some of her favorite words to read (and she had been reading them for a year or so now).

The other words began with "Mom, how do you spell cat?". Then I wrote a few rhyming words for fun. She wrote a few words and asked me to tell her what they said. When I sounded them out she proceeded to tell me I was wrong, they said something else. Usually it was the name of an imaginary friend that I had mispronounced. When she was done she got up and walked away.

Before that though, the last pic we drew was this one. I don't know if you can see it very well, but Lilly enjoyed coloring in a cloud over the sun. It was very cute! Oh, and you can see our pretty hyacinth's in the upper left corner, too.

Photobucket

BTW~ Sidewalk chalk is extremely inexpensive and lasts forever. We have a bucket of chalk on our porch and some of the pieces have been there for at least 5 years.

Here are some of our pics from yesterday.

Photobucket

Photobucket

Photobucket

Wednesday, April 16, 2008

Playdoh Recipie #1

We are on a mission now to make the "perfect" playdoh.

This is the recipe we made yesterday.

UNCOOKED PLAY DOH:
3/4 C flour
3/4 C salt
3/4-1 C Water with preferred color food coloring
1 T vegetable oil

Mix all ingredients. Knead until smooth consistency. Keep it covered and in refrigerator when not using it.

REVIEW:
We didn't like this one. Your kids might if they love to make messes.

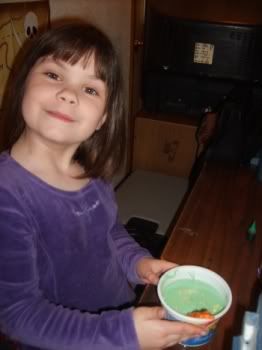
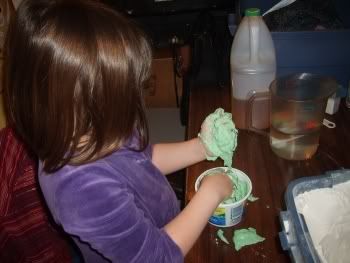
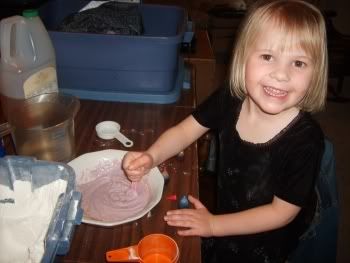
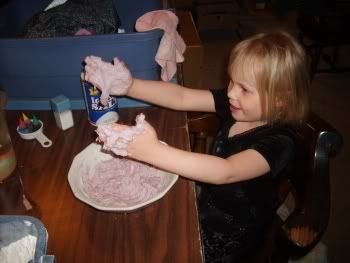
We colored the 3/4 C water (green, light purple and purple).
We put in the flour, stirred.
Put in the salt, stirred some more (it got pretty hard for the girls to stir at this point).
We decided it was too runny and added extra flour.

When it was finished the girls put their hands in, but they don't like to get too messy so it only lasted a few minutes.

Here are the pictures.

Photobucket

Photobucket

Photobucket

Photobucket

Photobucket

Photobucket

Saturday, April 12, 2008

Bring the beach to you

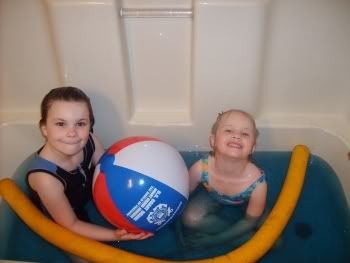
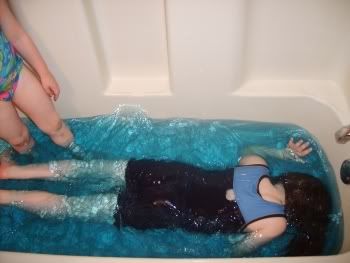
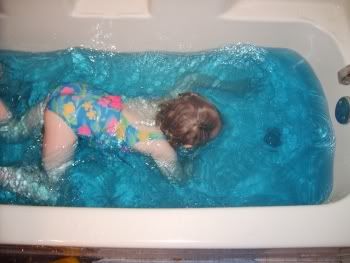
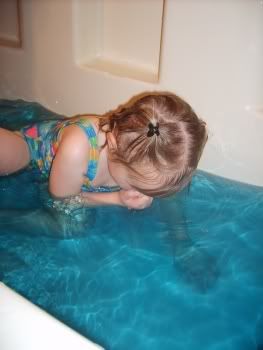
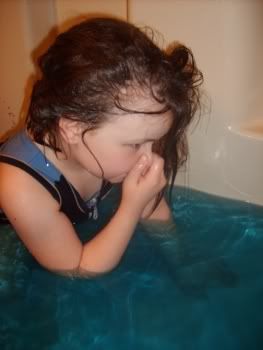
Today we brought the beach to us.

It's been cold and rainy here (yep, it's spring) the last couple days and we have been stuck at home so we brought the beach to us. This is one of the girls' favorite and easiest things to do.

What you need:

-Bathtub
-Swimsuits (optional, but they add to the effect)
-Blue dye (we use normal food coloring)
-Beach toys

Here are our pics. Please send me yours or post them in the comments section!

Photobucket

Photobucket

Photobucket

Photobucket

Photobucket